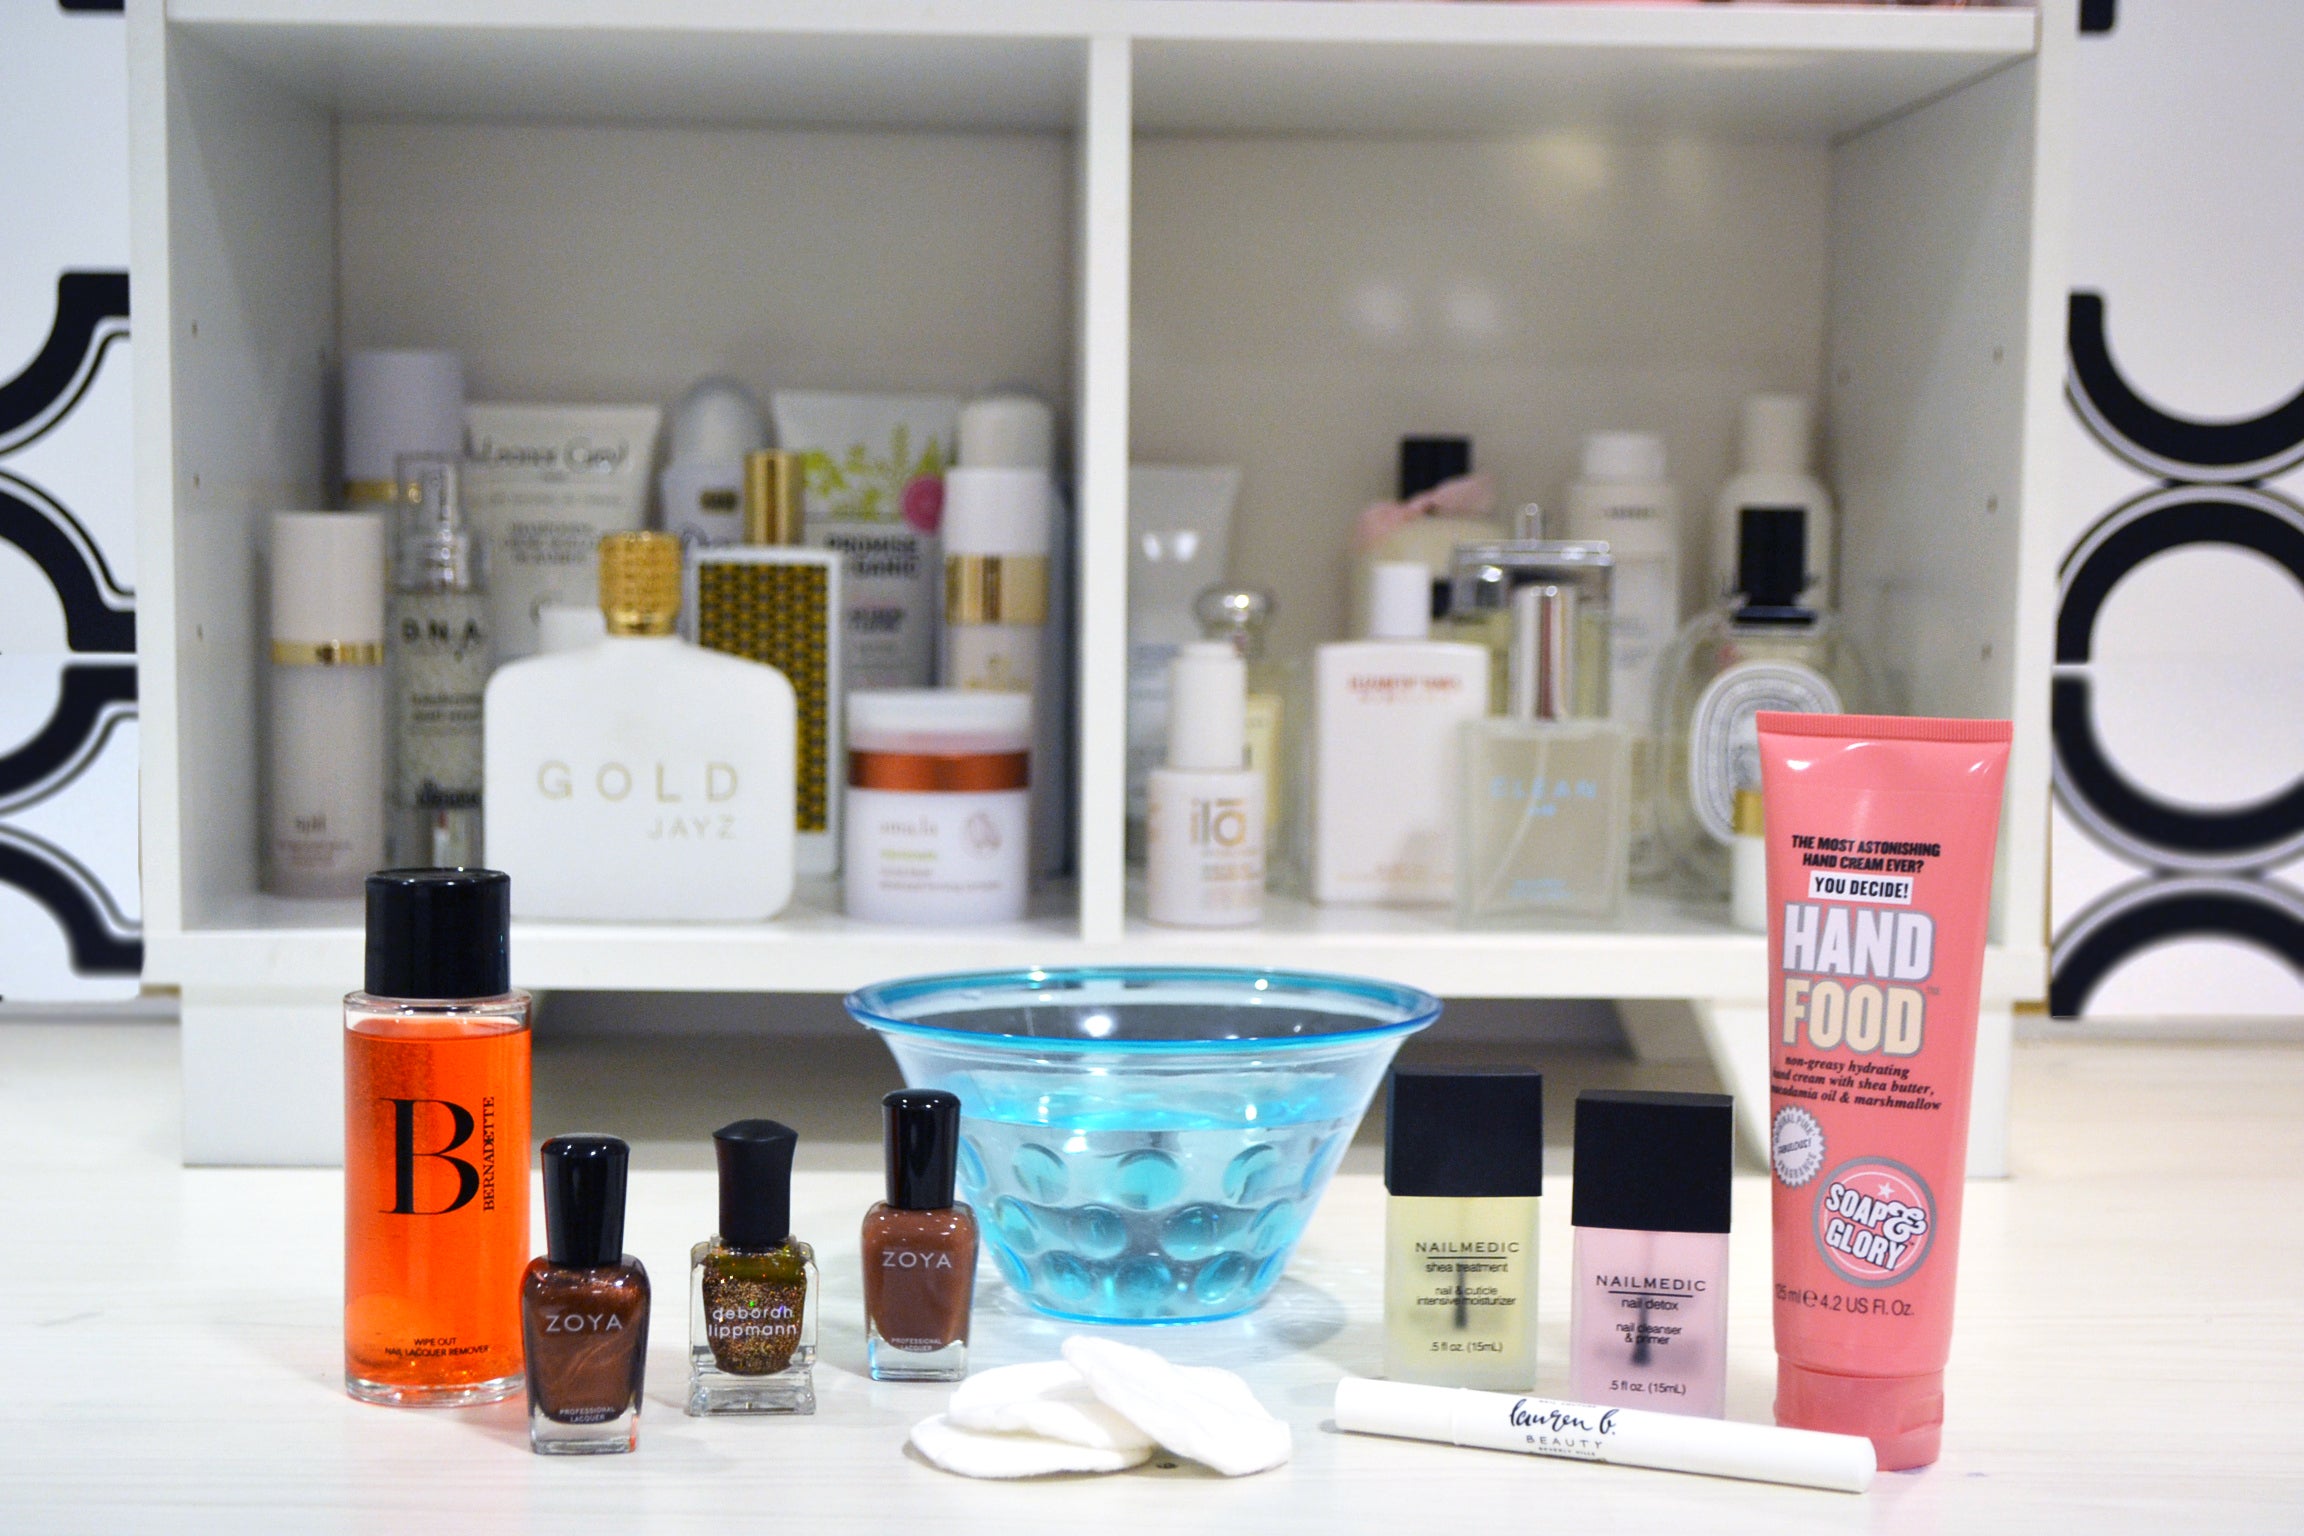
- Cotton Pads
- 3 Toothpicks or Wooden Skewers
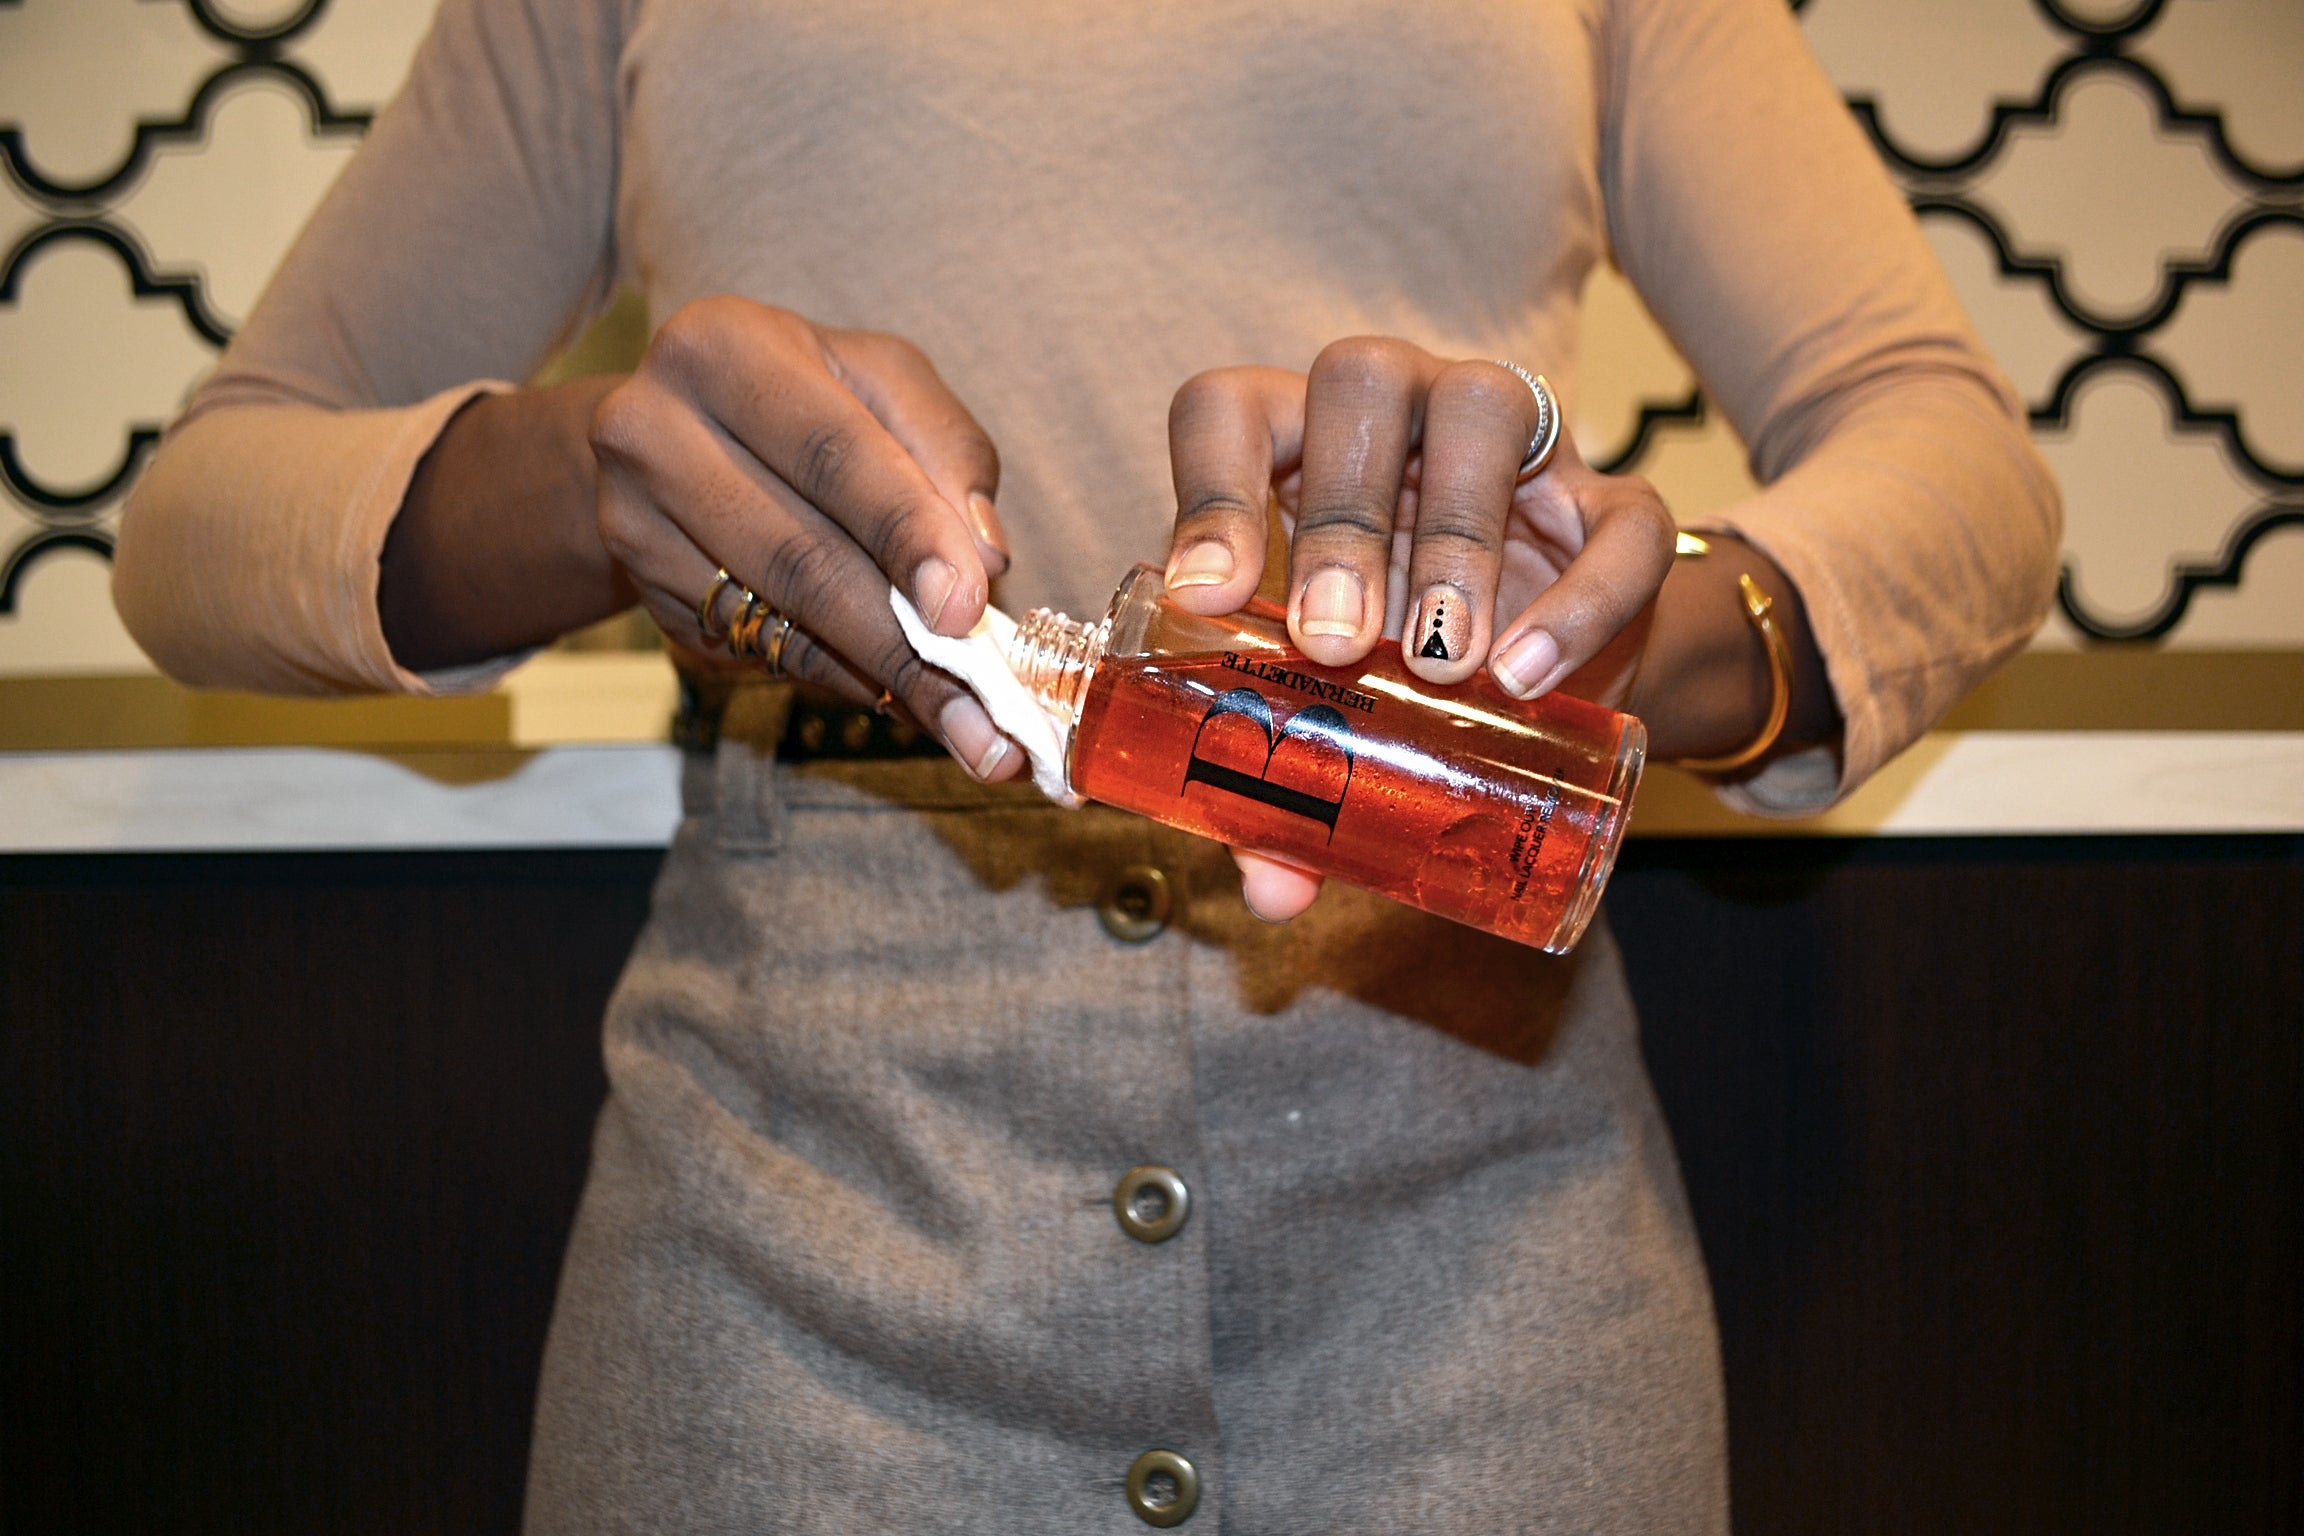
- Nail Polish Remover (We recommend Bernadette Thompson’s brand)
- Hand Lotion (Our top choice is Soap & Glory Hand Food)
- Nail & Cuticle Balm (optional, but we like this one by Lauren B.)
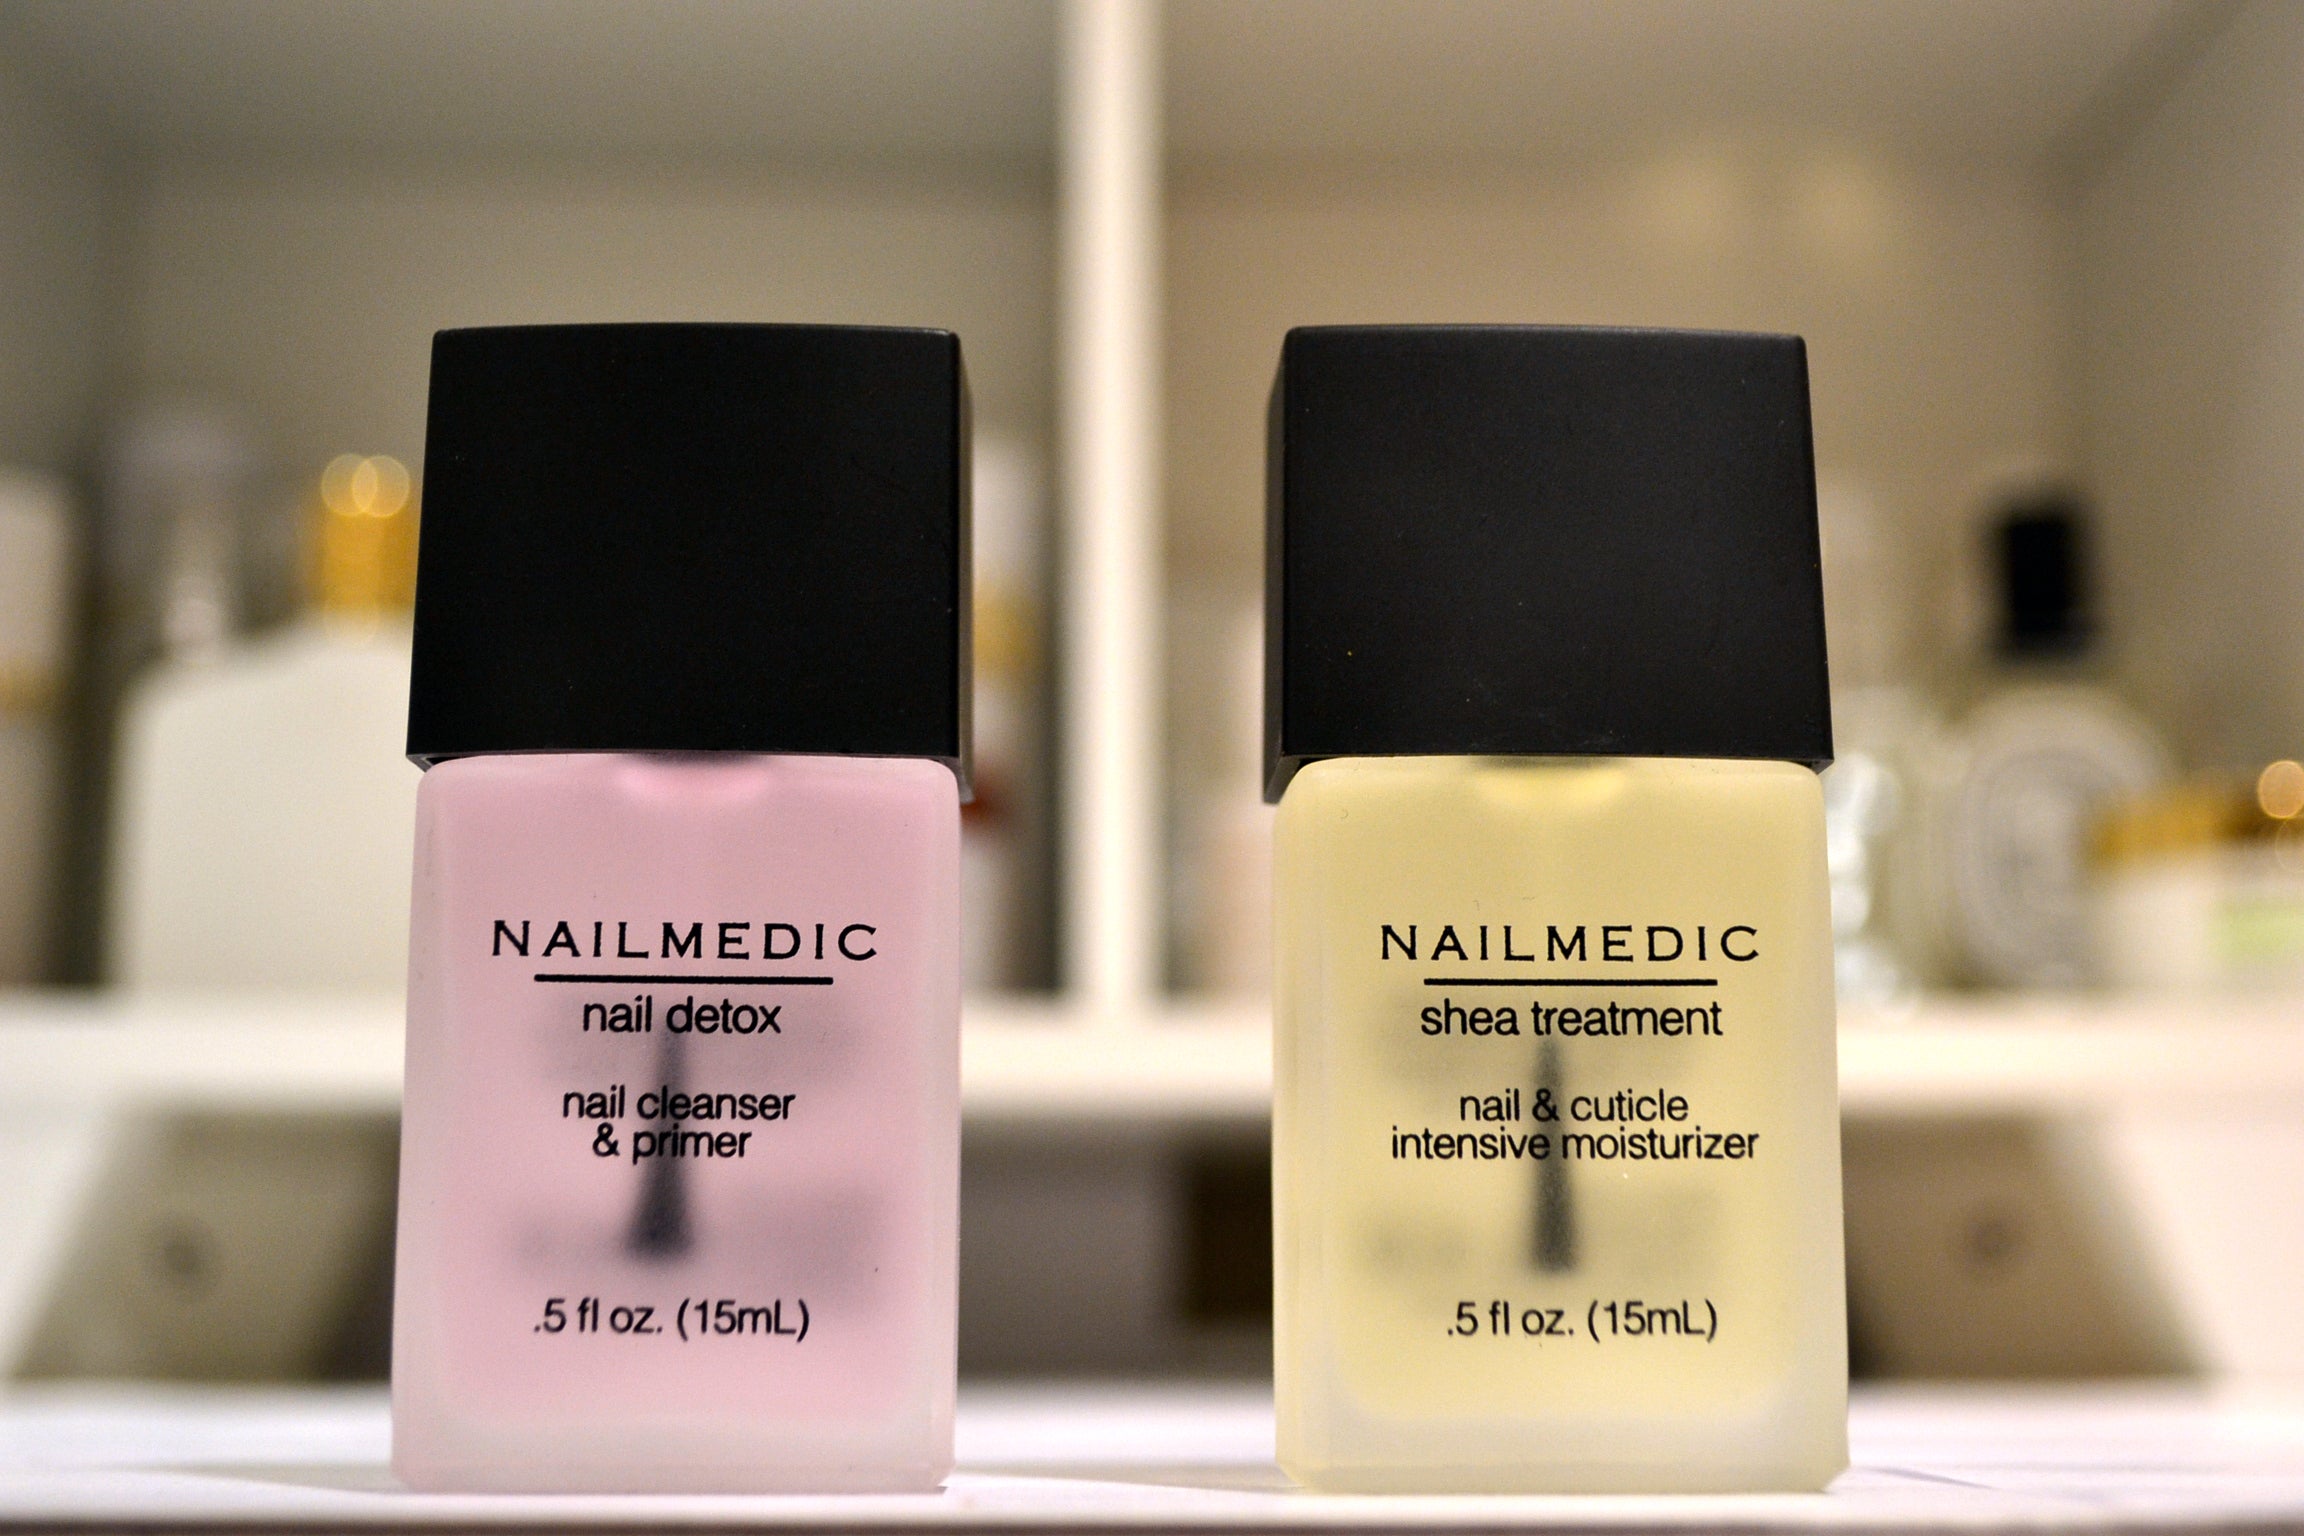
- NailMedic Nail Detox Nail Cleanser & Primer
- 3 Nail Lacquer shades of your choosing
Start by cleaning your hands and nails and removing all nail polish. We like Bernadette Thompson’s über gentle Wipe Out formula.
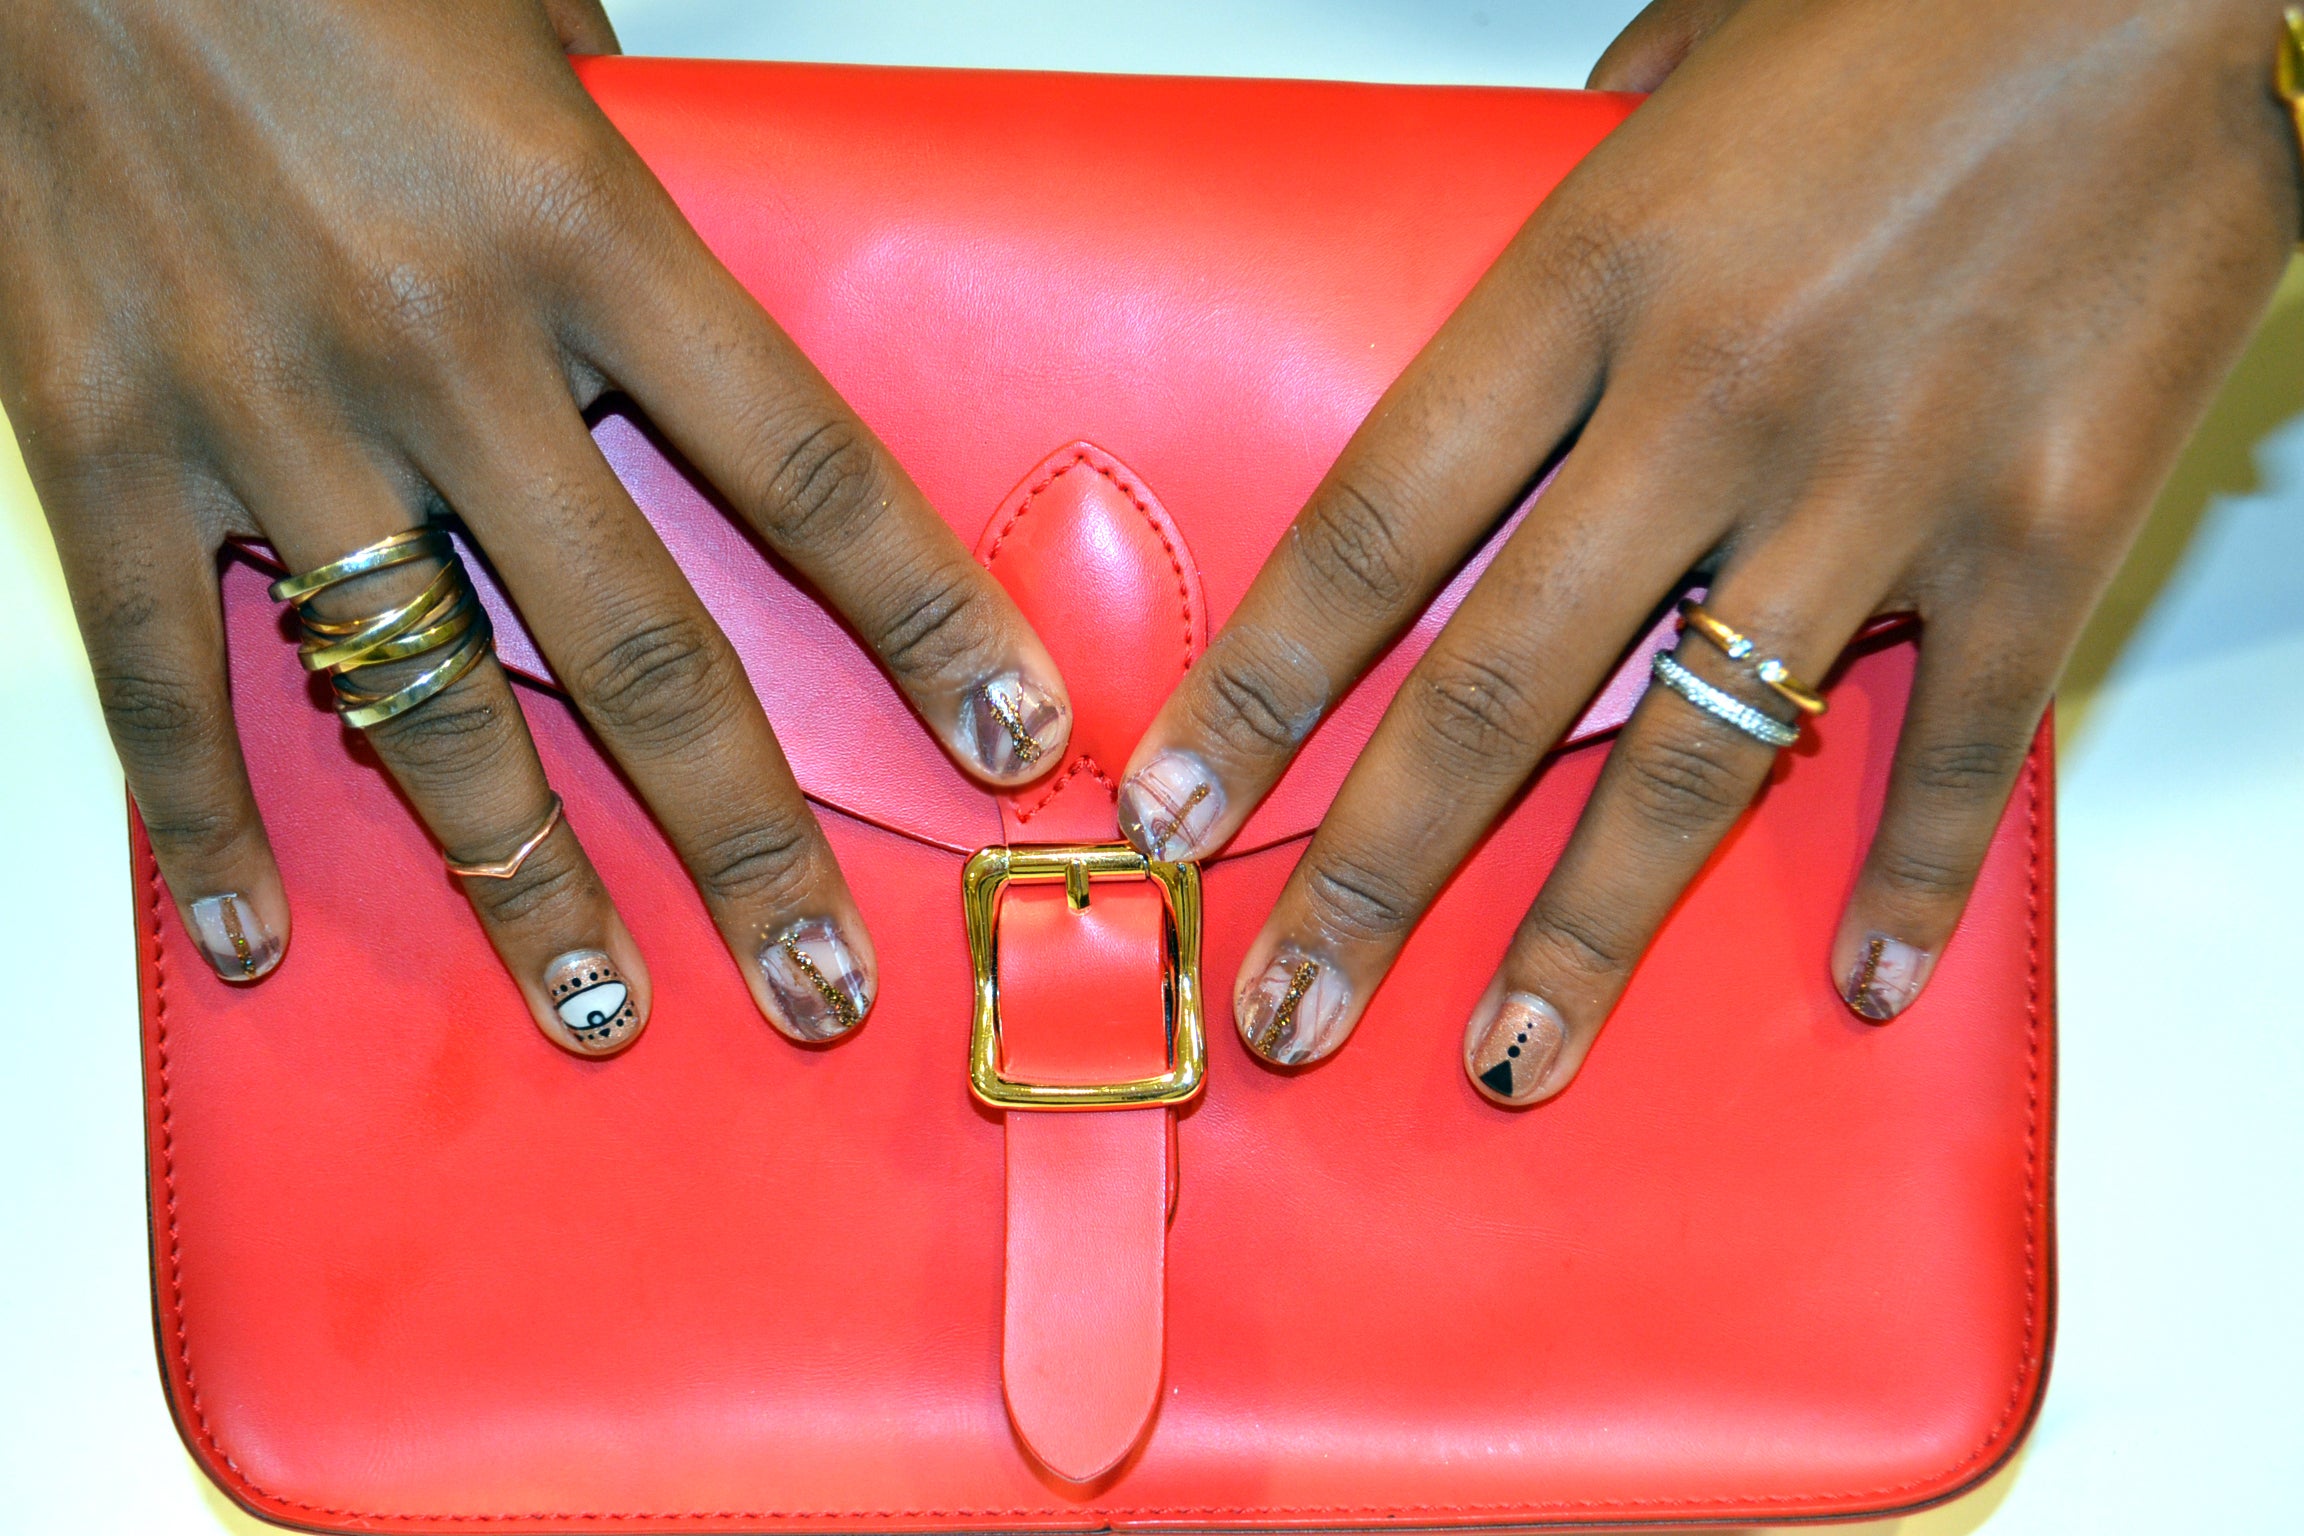
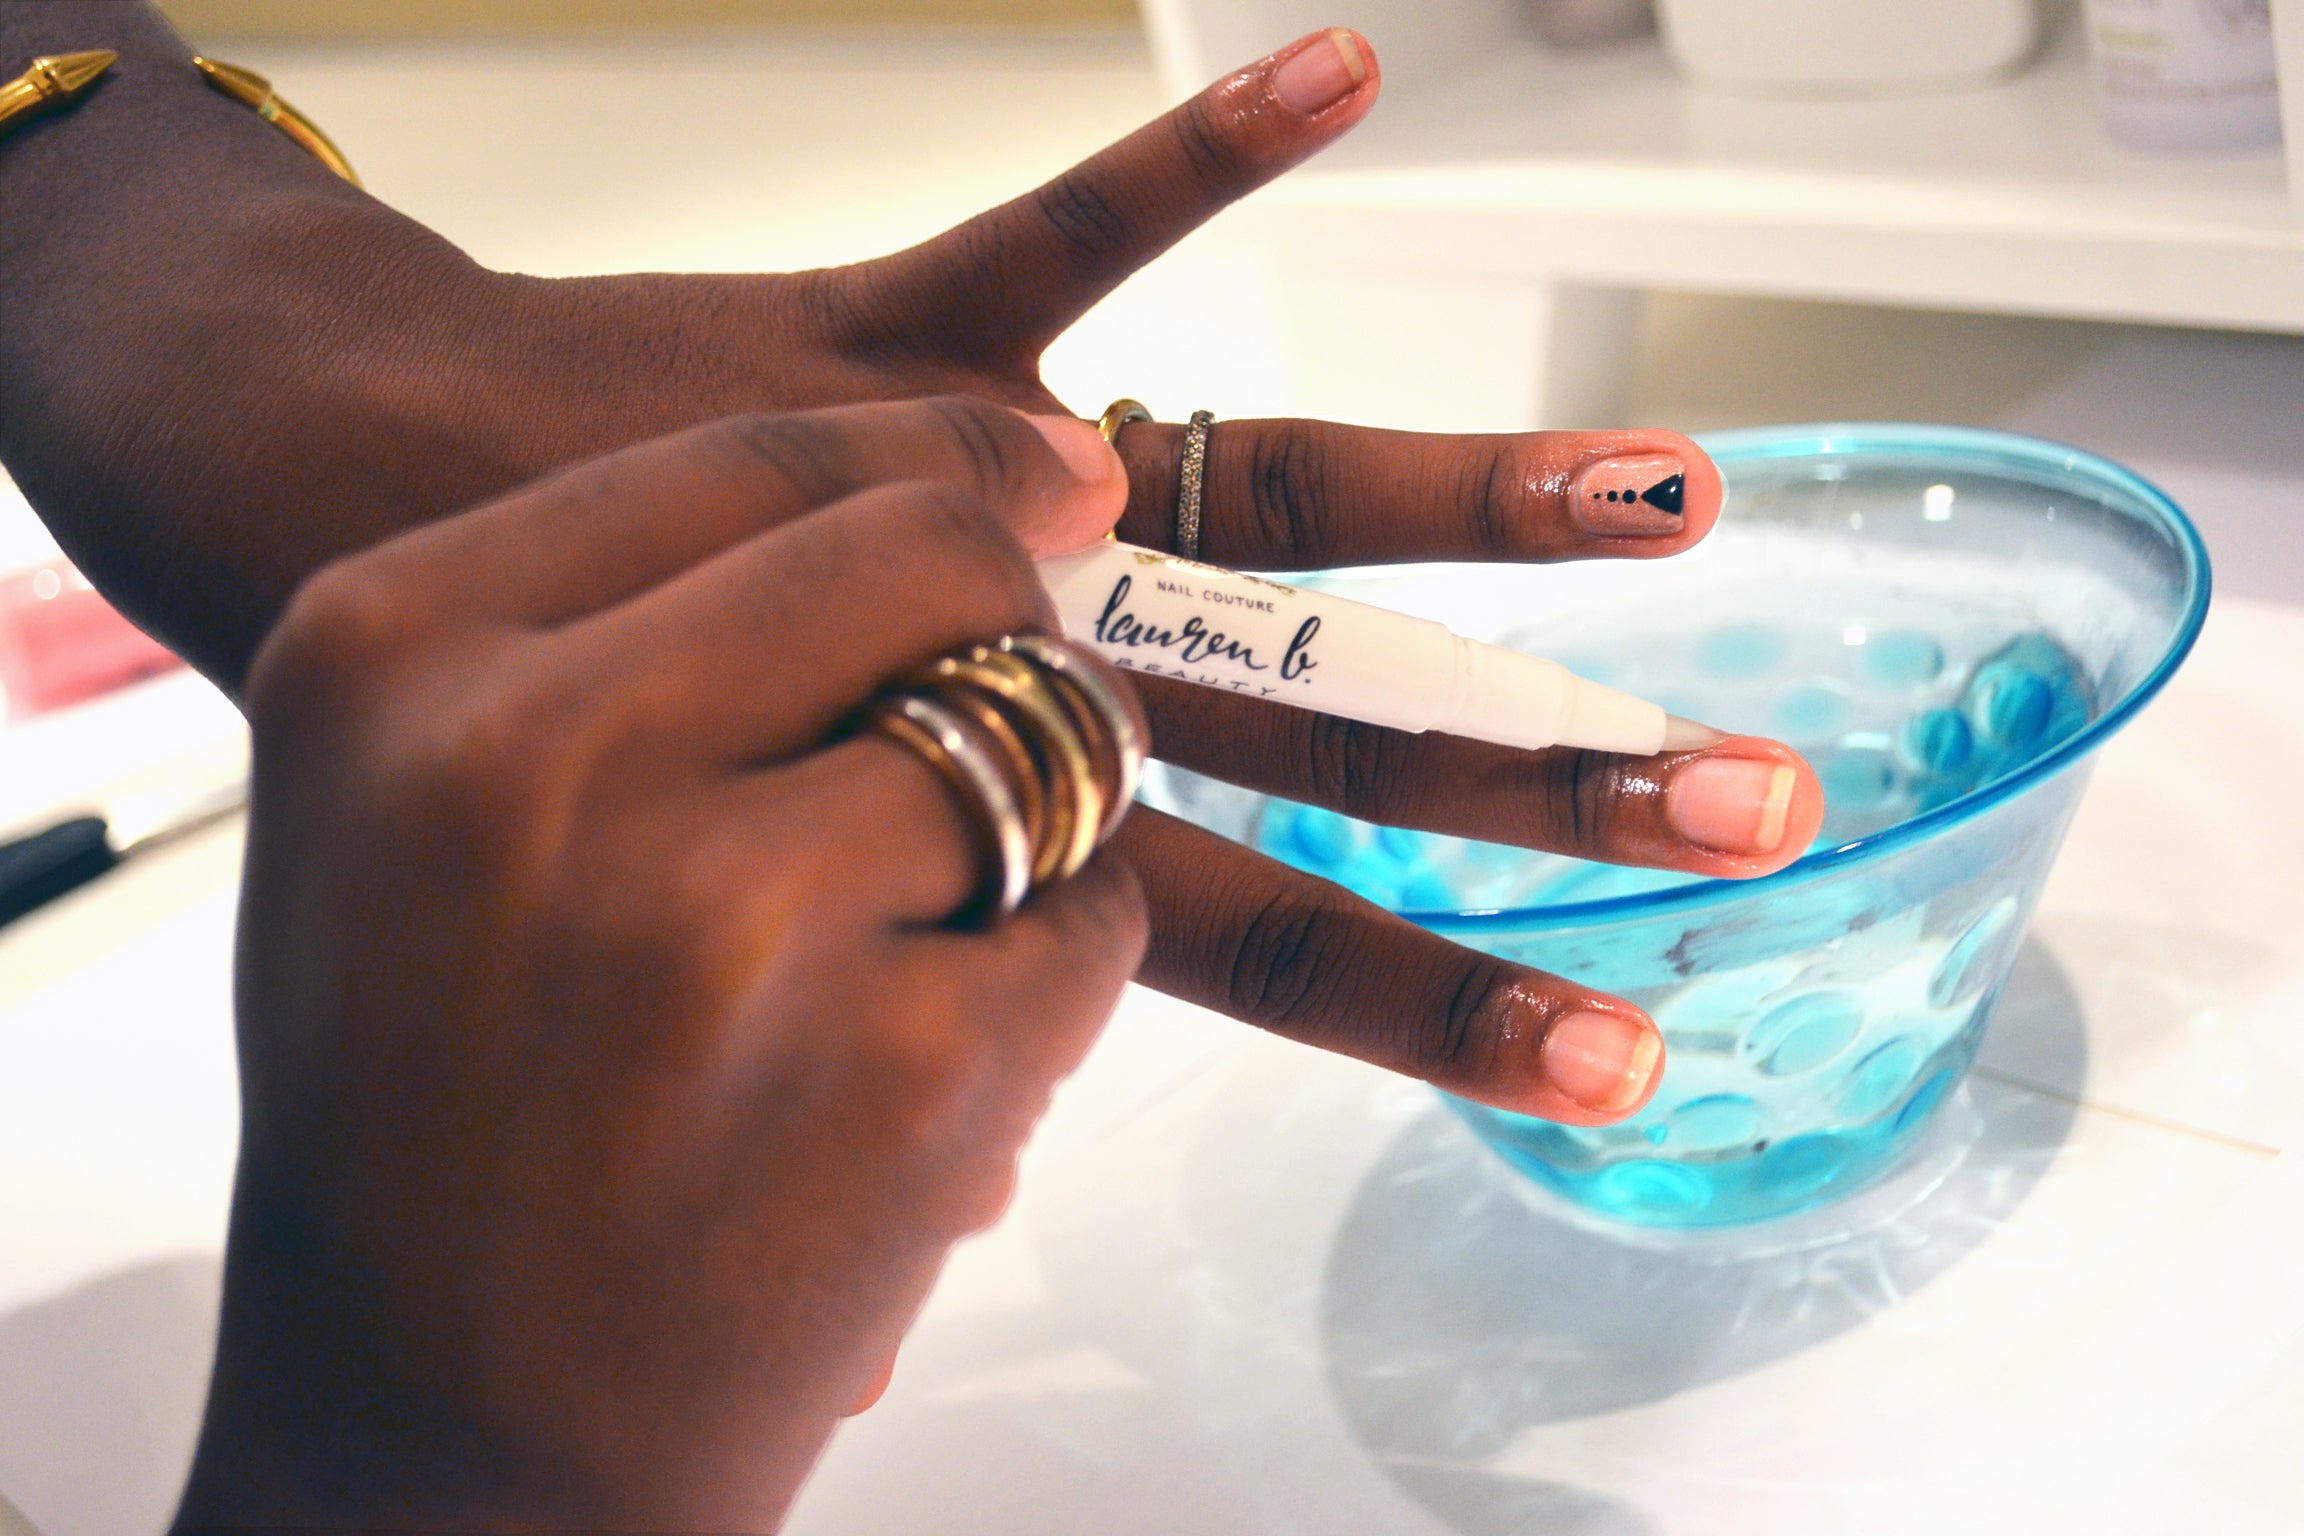
**Disclaimer** I have kept the nail art left over from a previous manicure on four of my digits: both thumbs and my ring fingers.
Prep your nails for polish using your favorite base coat primer and cuticle treatment. We like these formulas by NailMedic.
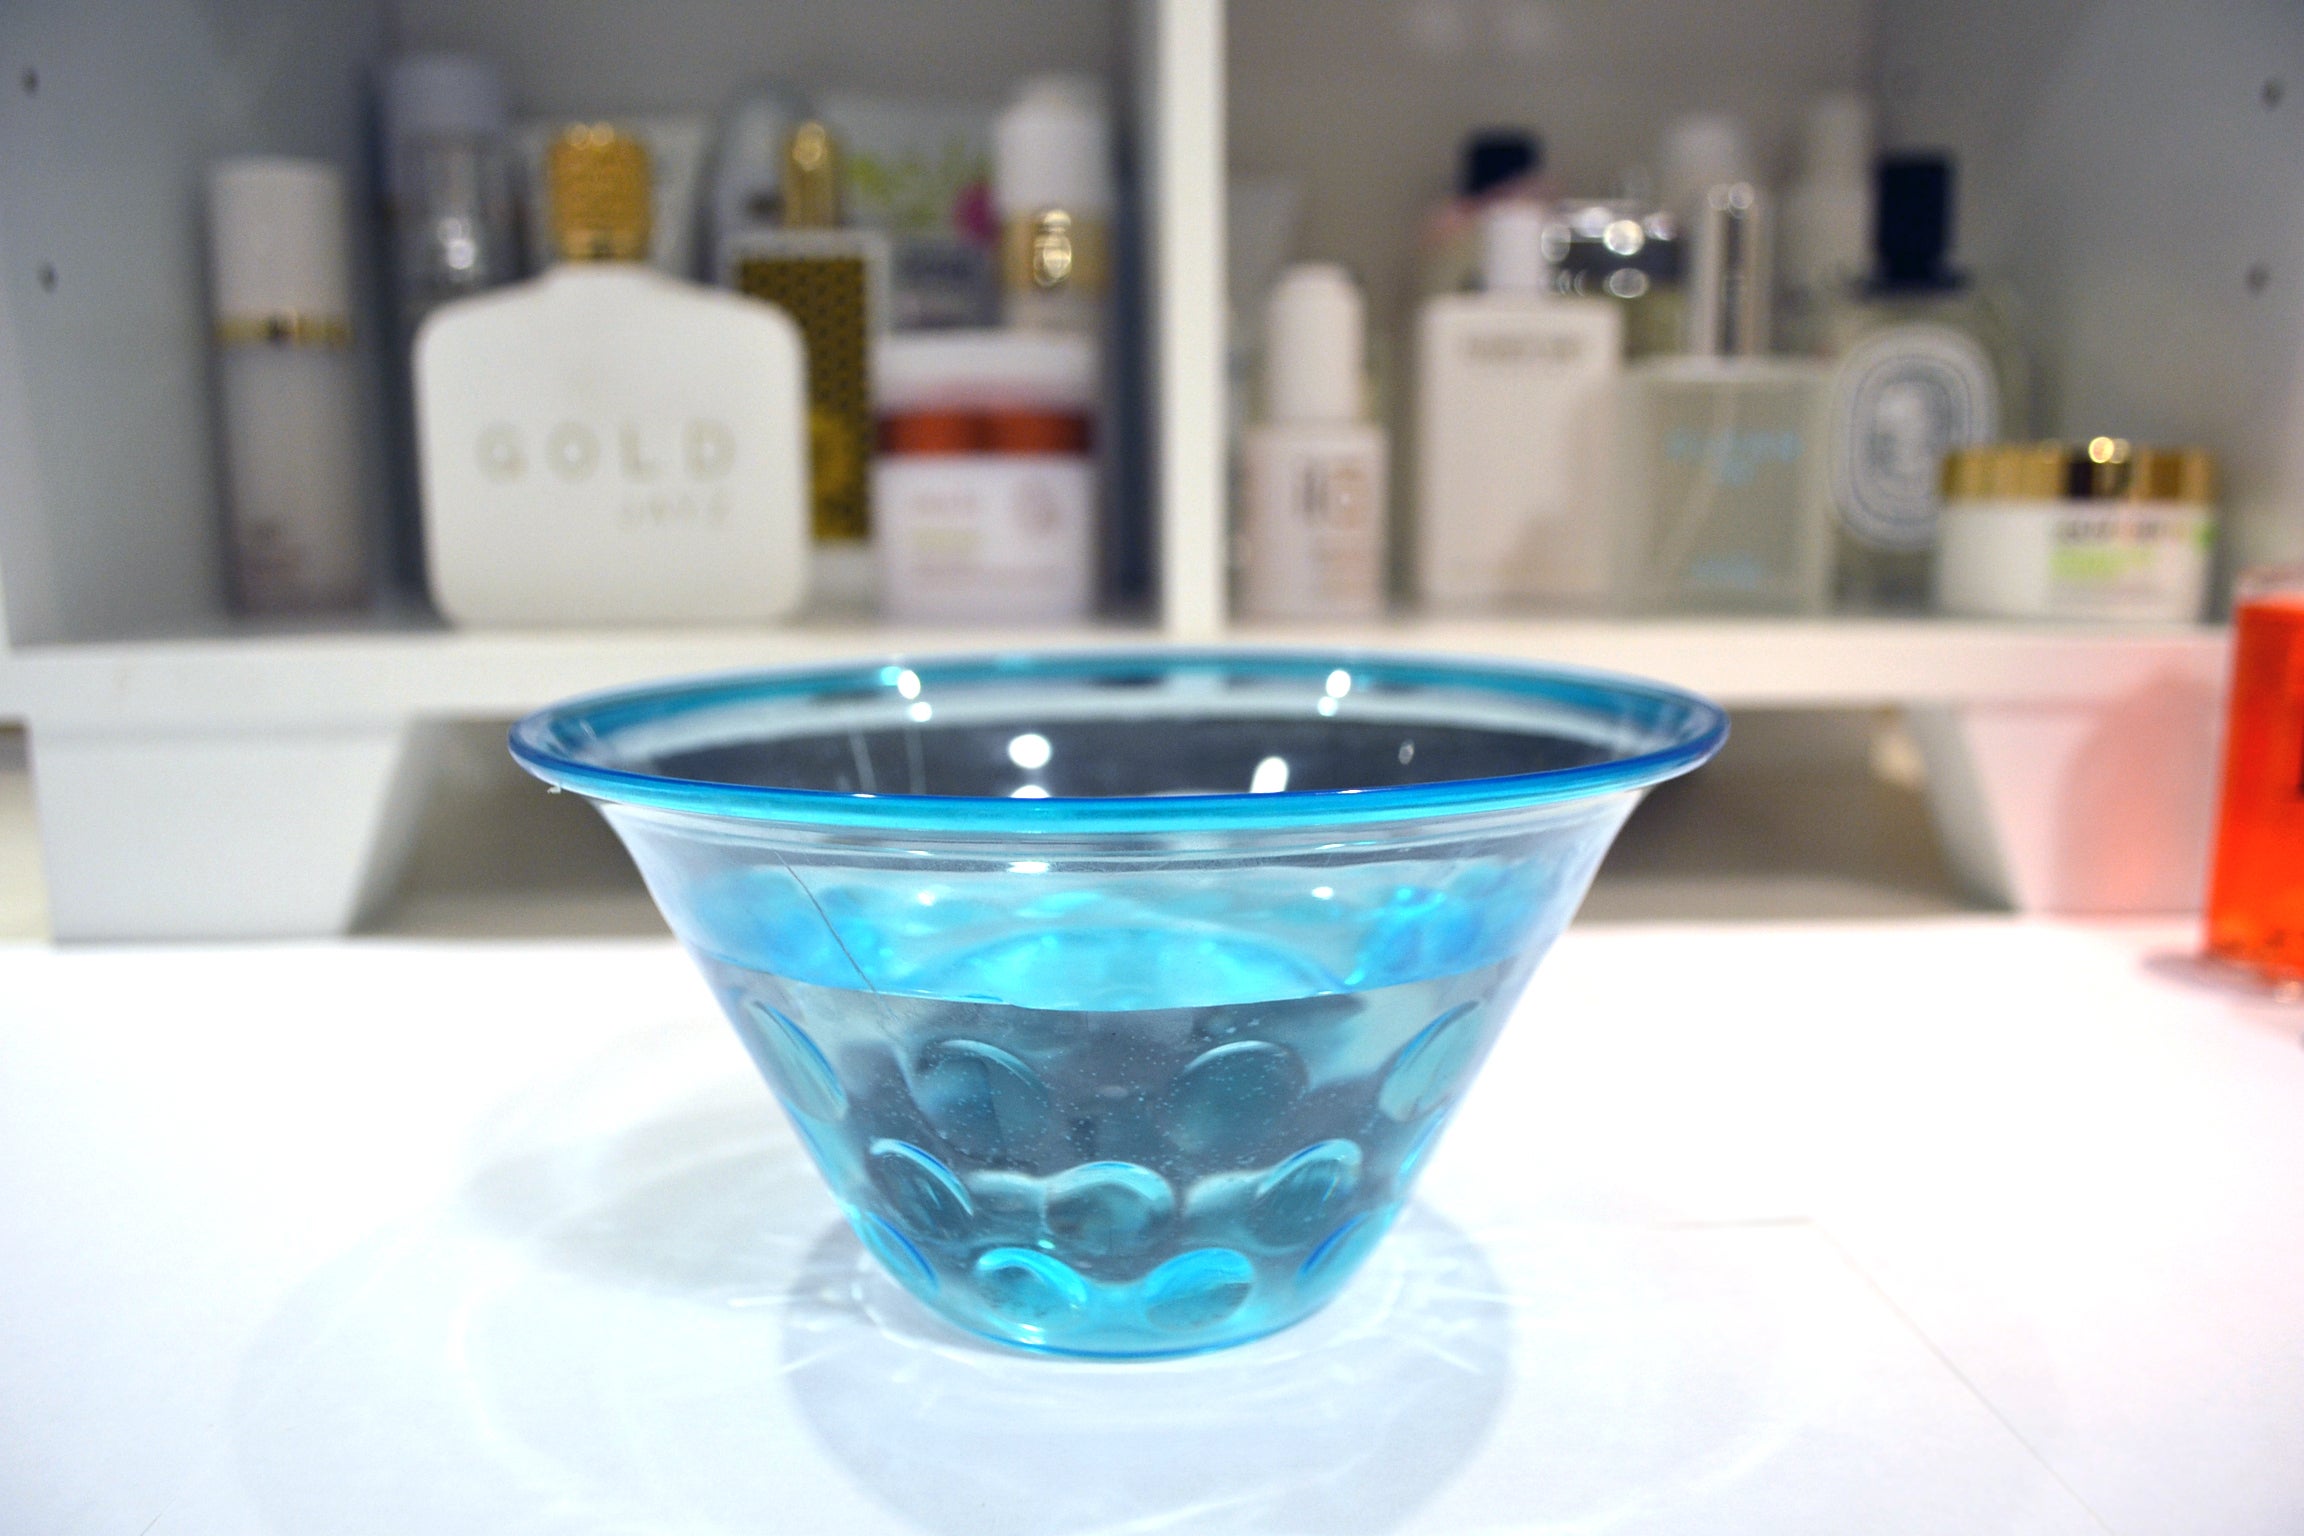
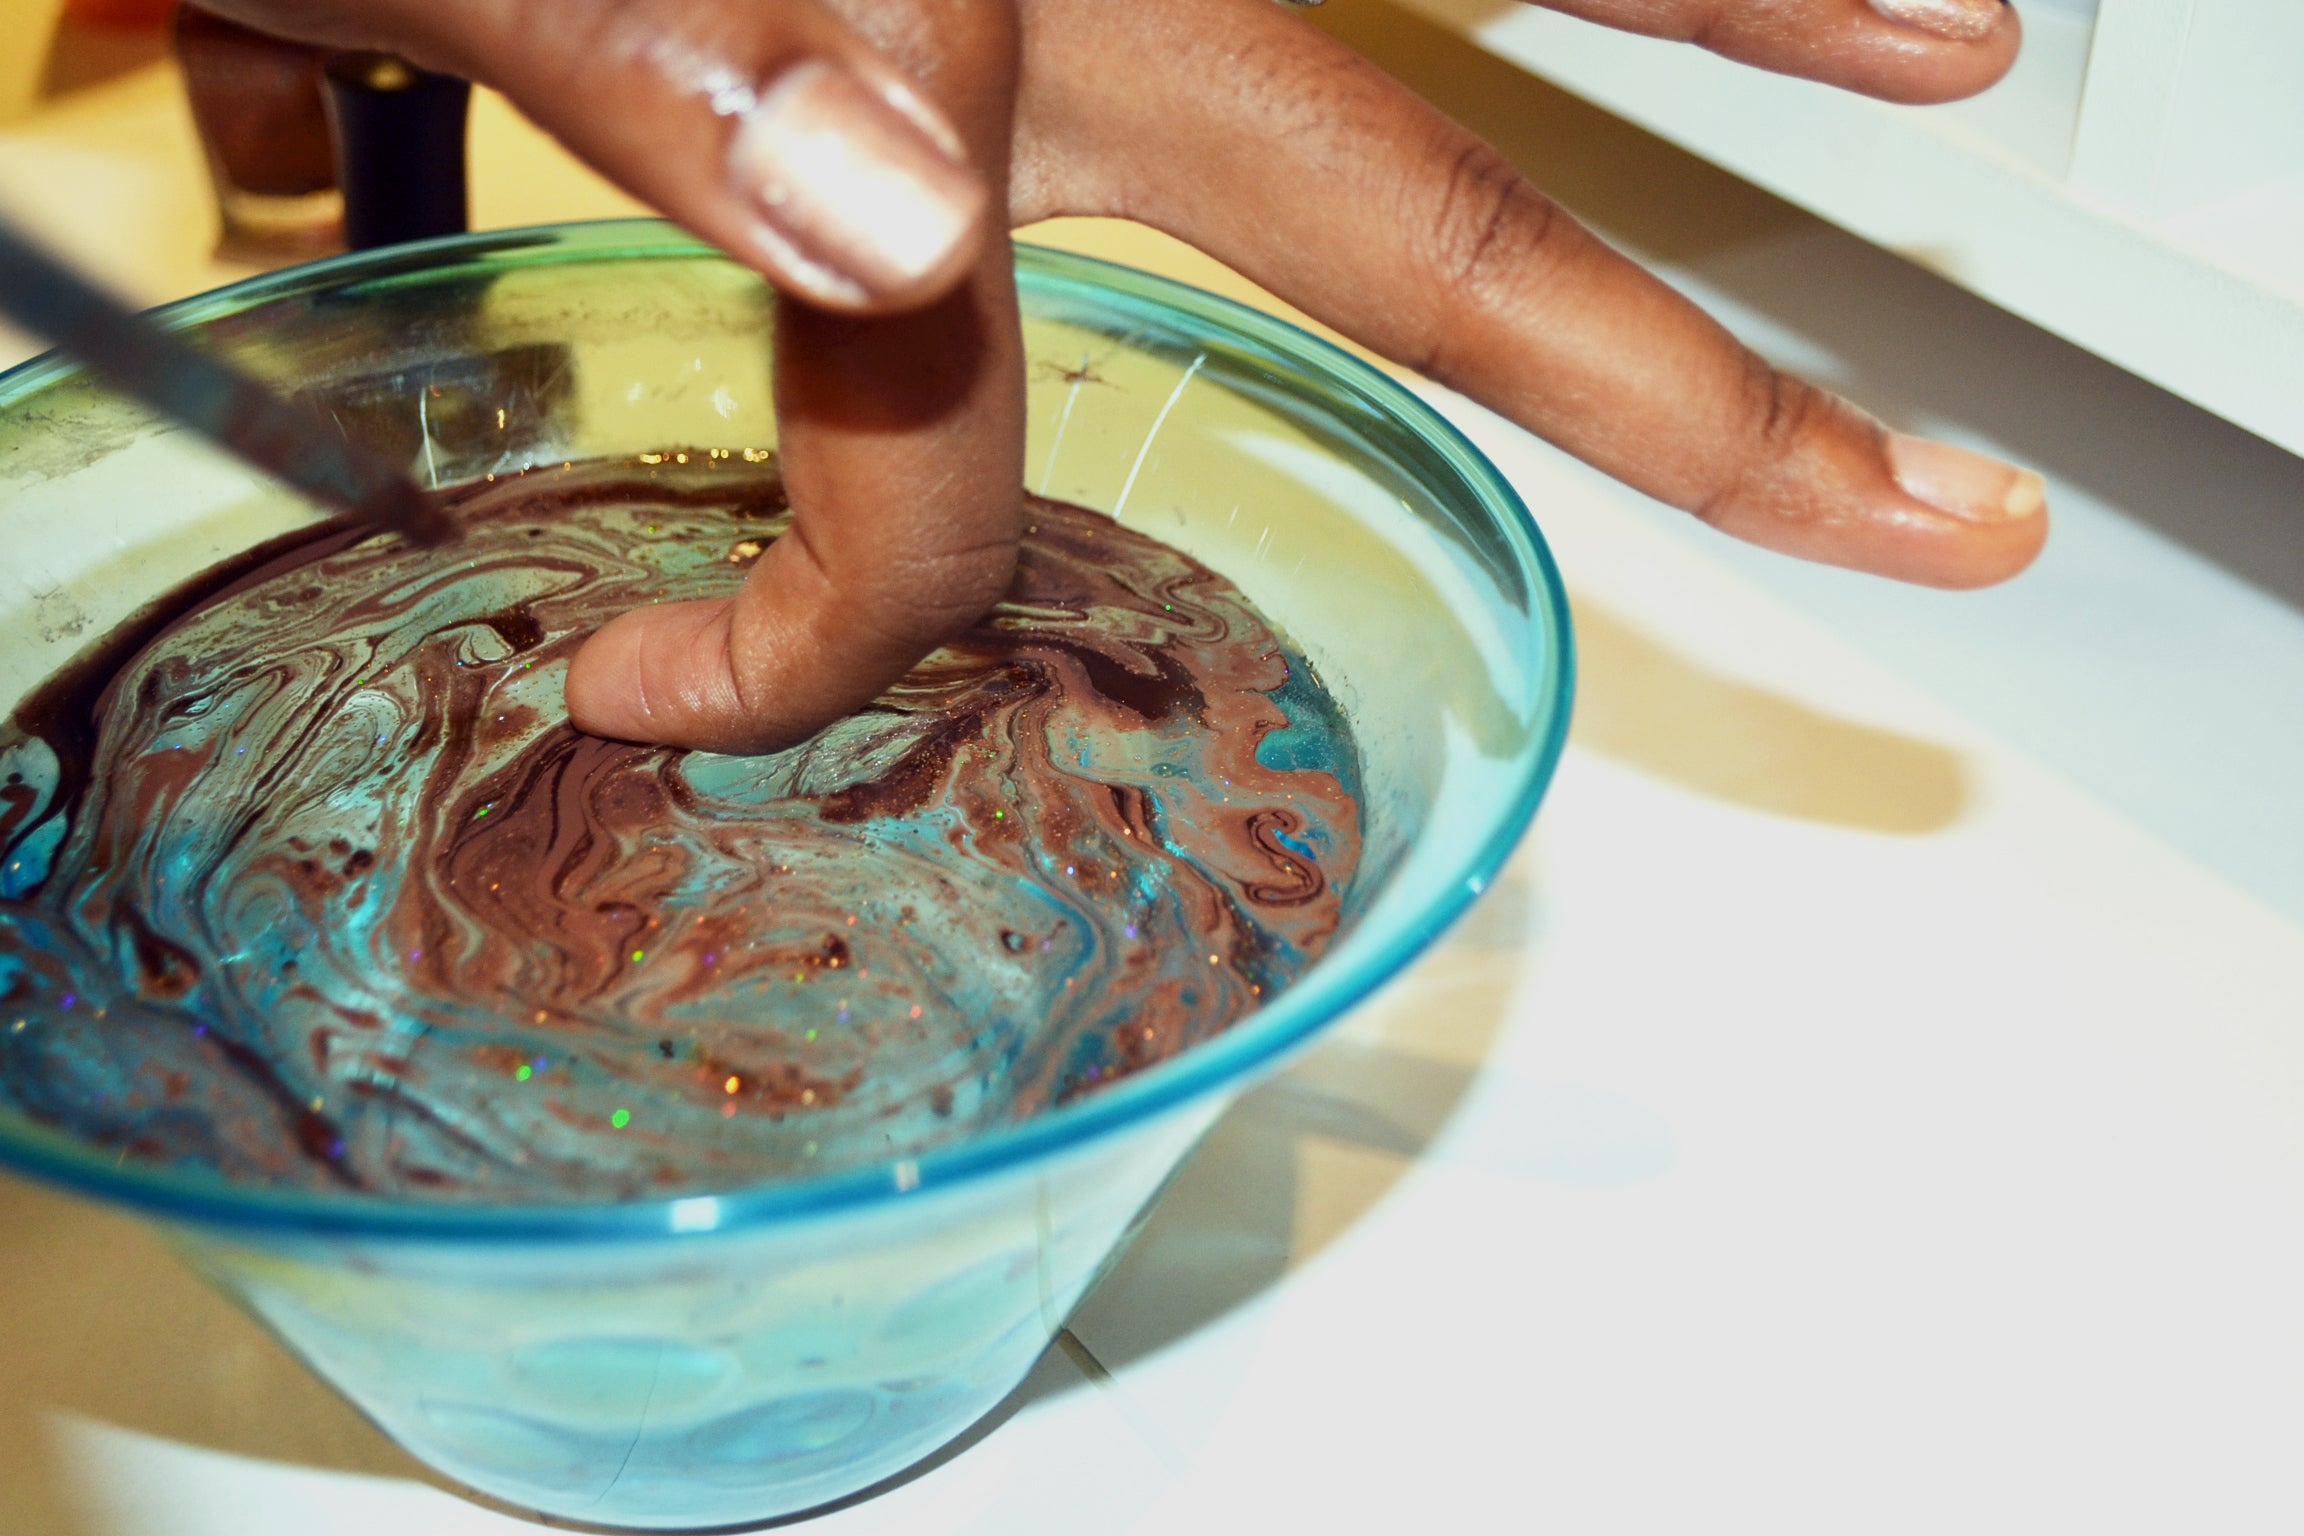
Fill an old bowl with lukewarm water. Use a bowl that you don’t mind damaging as the nail polish may not come out post-design.
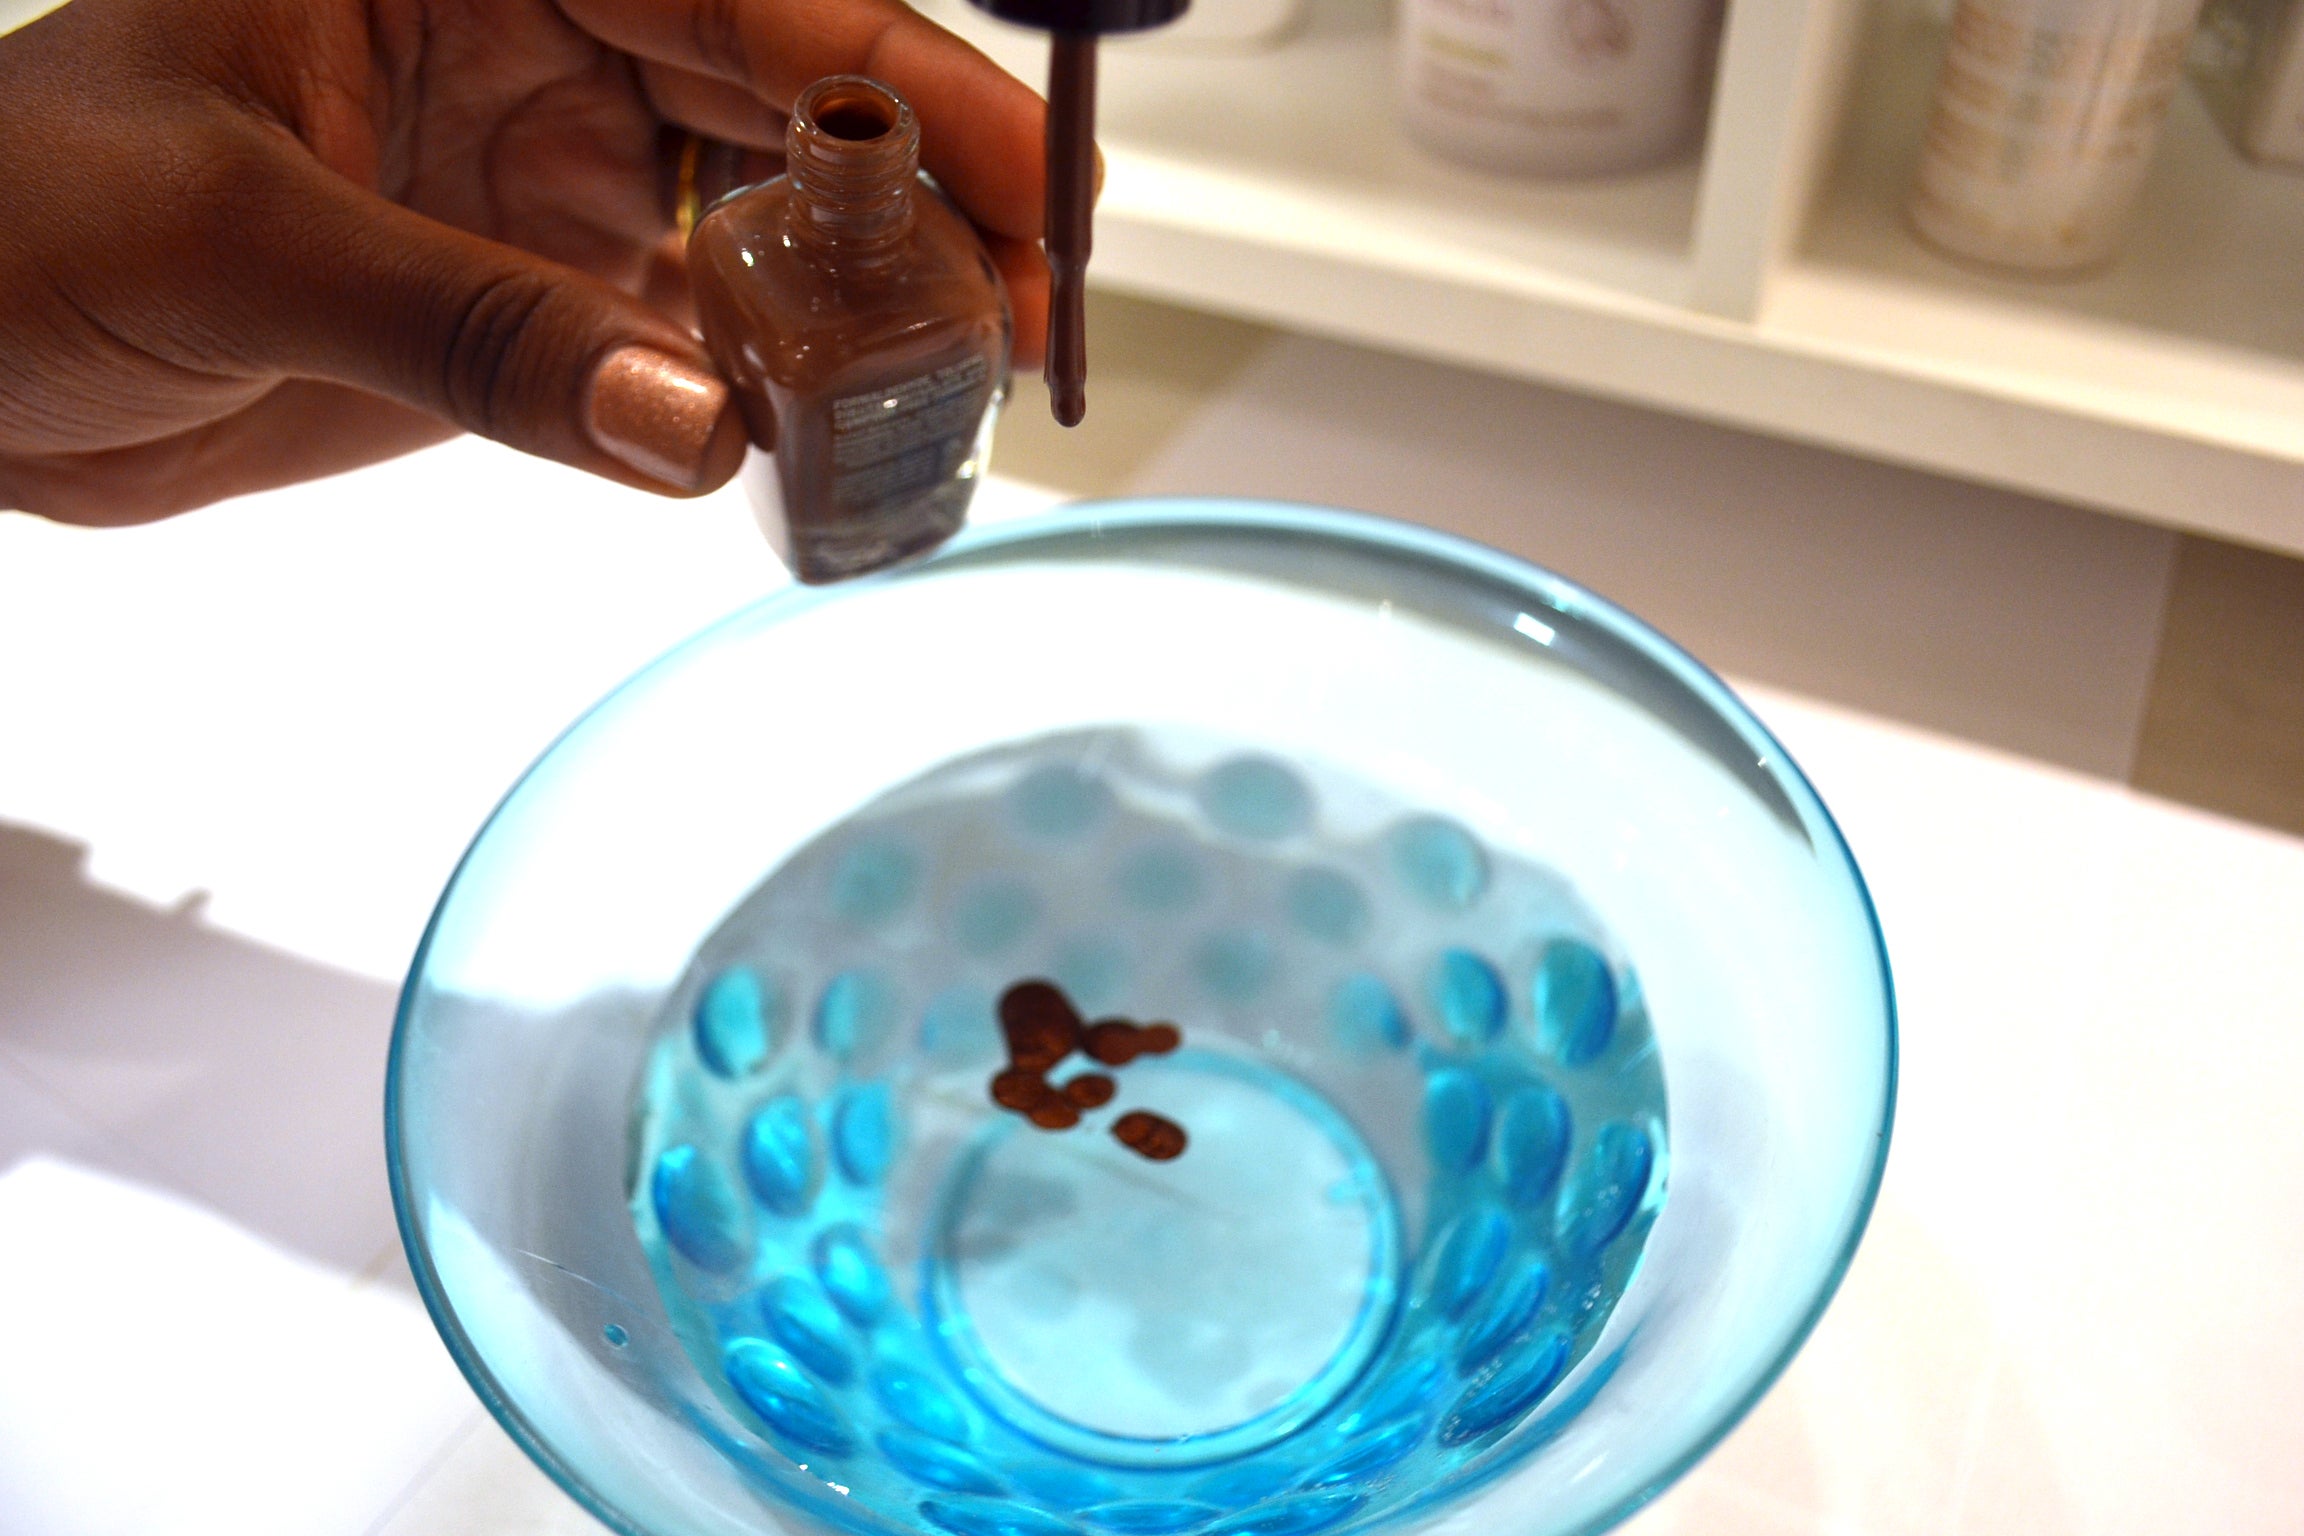
Using the brush of three of your favorite polishes, let drops of polish fall into the water-filled basin. Allow for 3-5 drops per polish. Do not use glitter polish as it will not allow for the same marbleized effect.
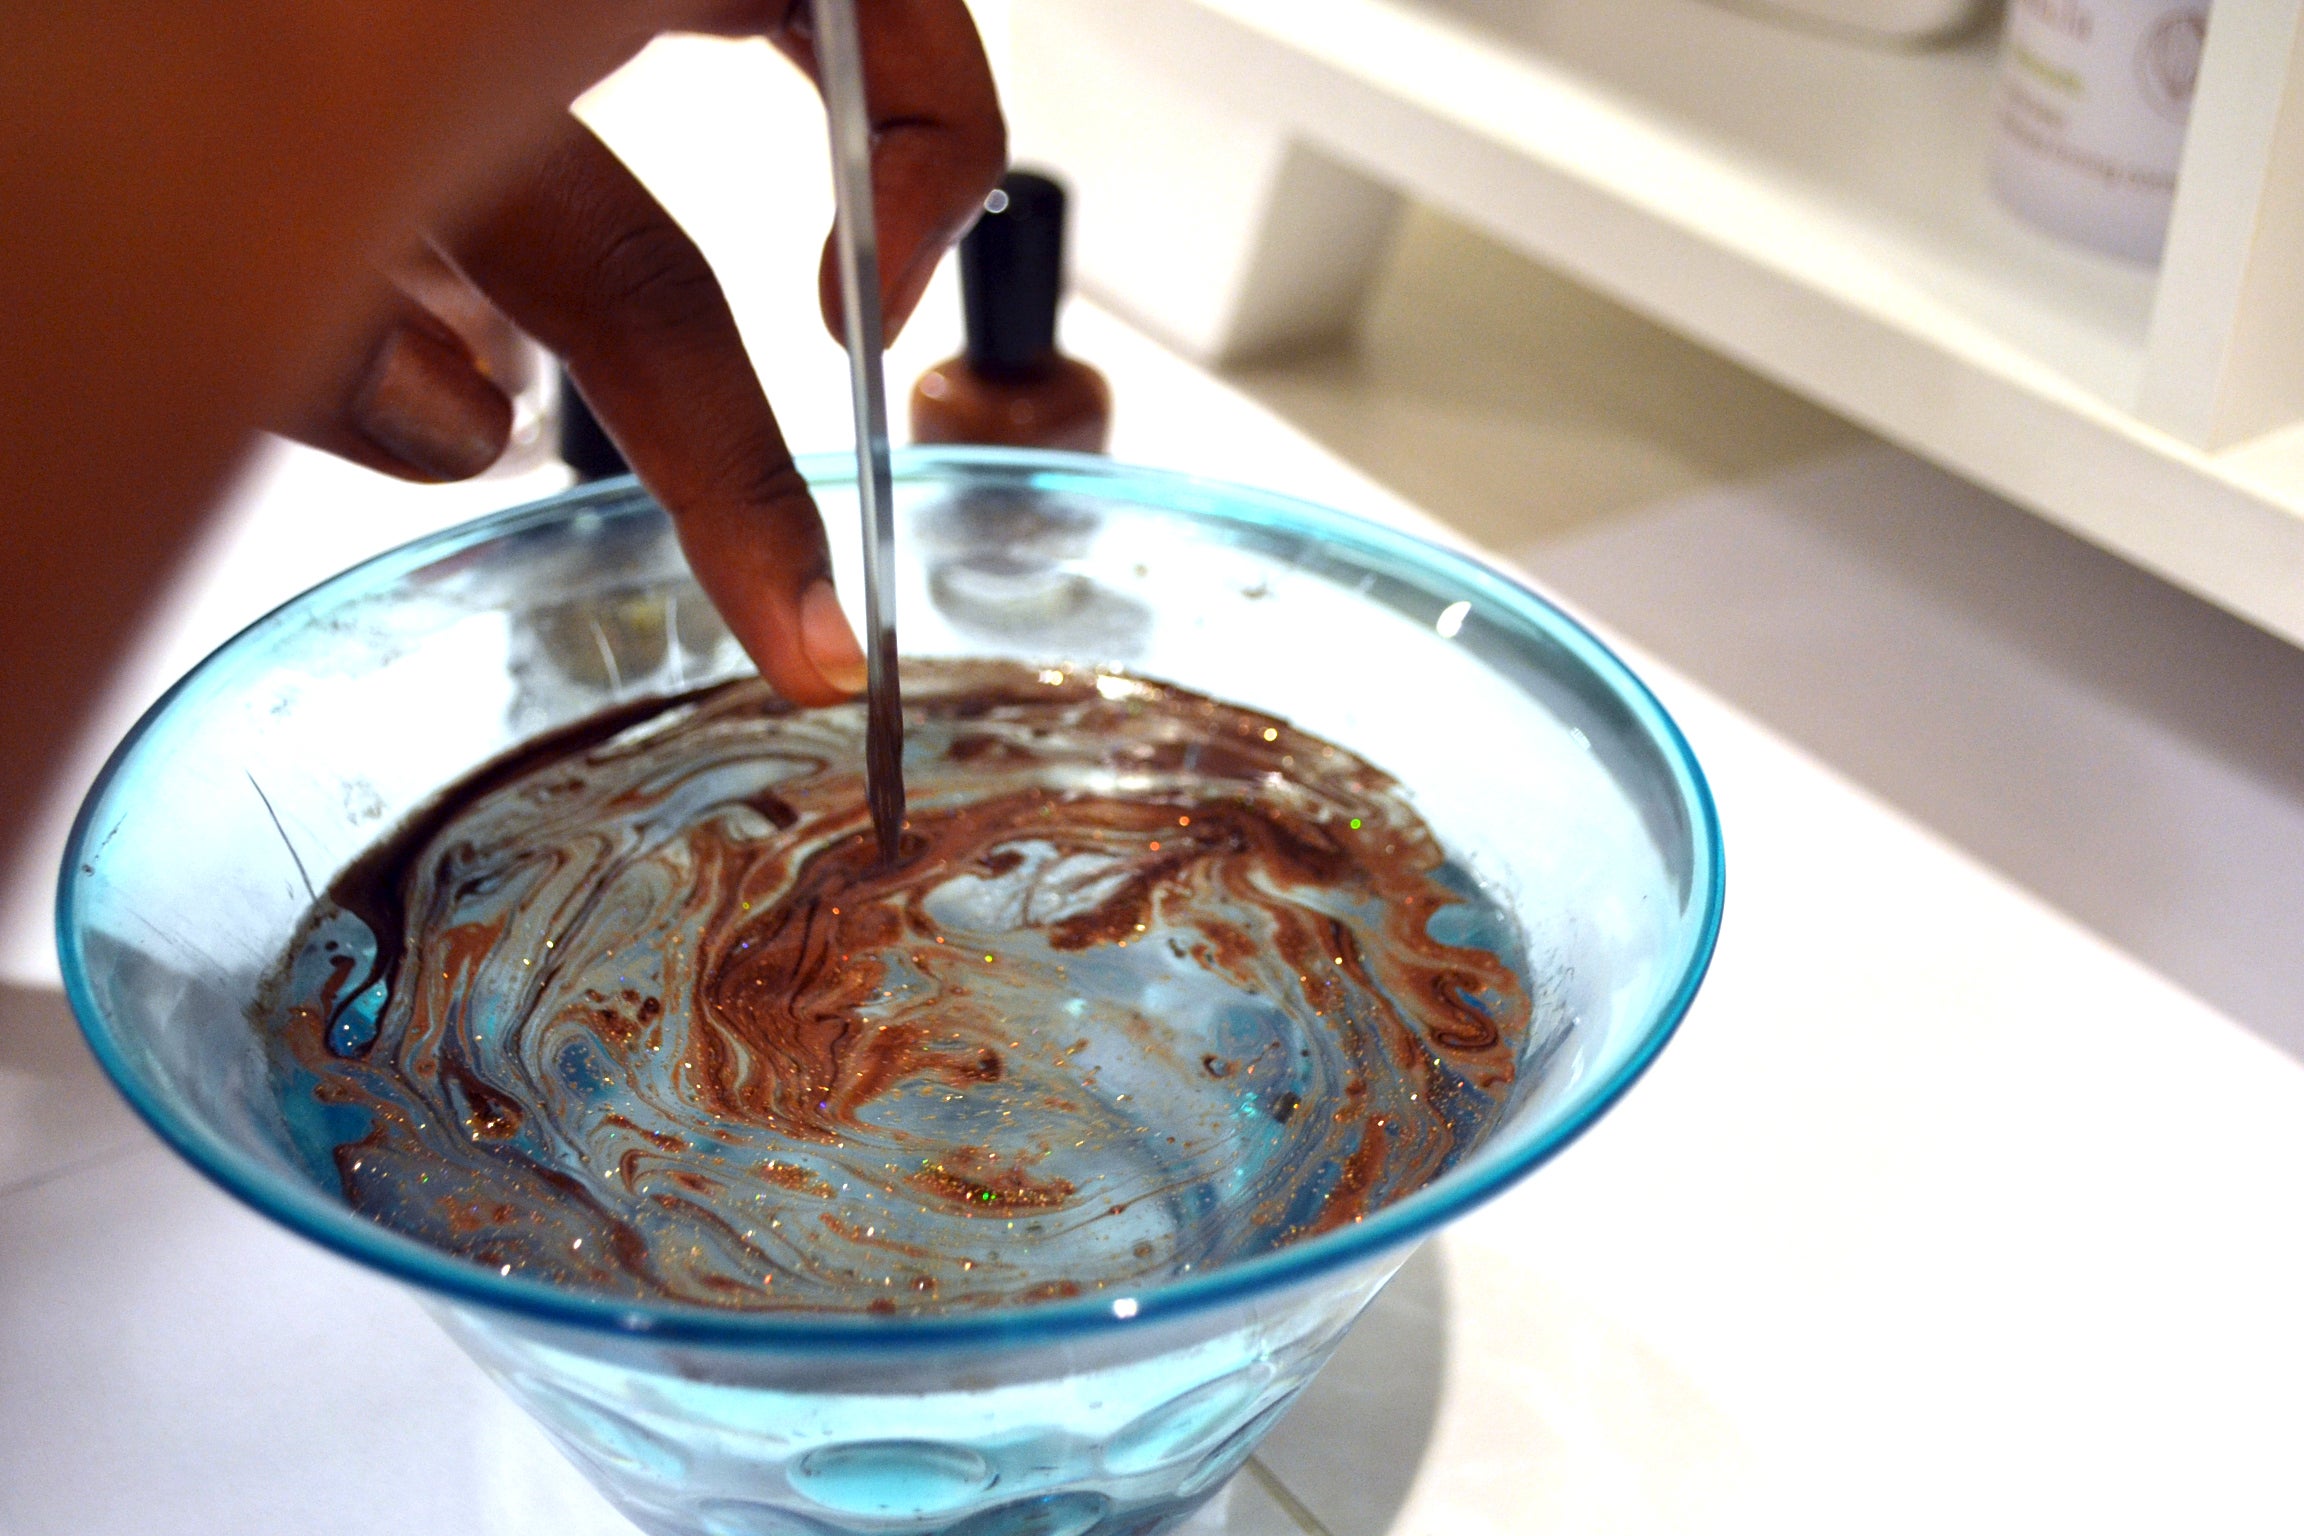
Using a toothpick or a wooden skewer, stir the polish and allow for a design to form. Do so quickly, as the polish will dry after 90 seconds and you will have to re-start the process.
Once you’ve formed your desired nail design in the polish, dip your nail bed into the solution and trace the outline of your fingertip with a fresh toothpick before quickly removing the nail.
We opted to add a glitter streak to each nail, and finished with our favorite top coat. Voilia! marble nails in less than 15 minutes!